Part of the way we have this site laid out sort of demands a “featured image” for each post–a sort of header thing for every blog entry that in some way relates to what it’s about.
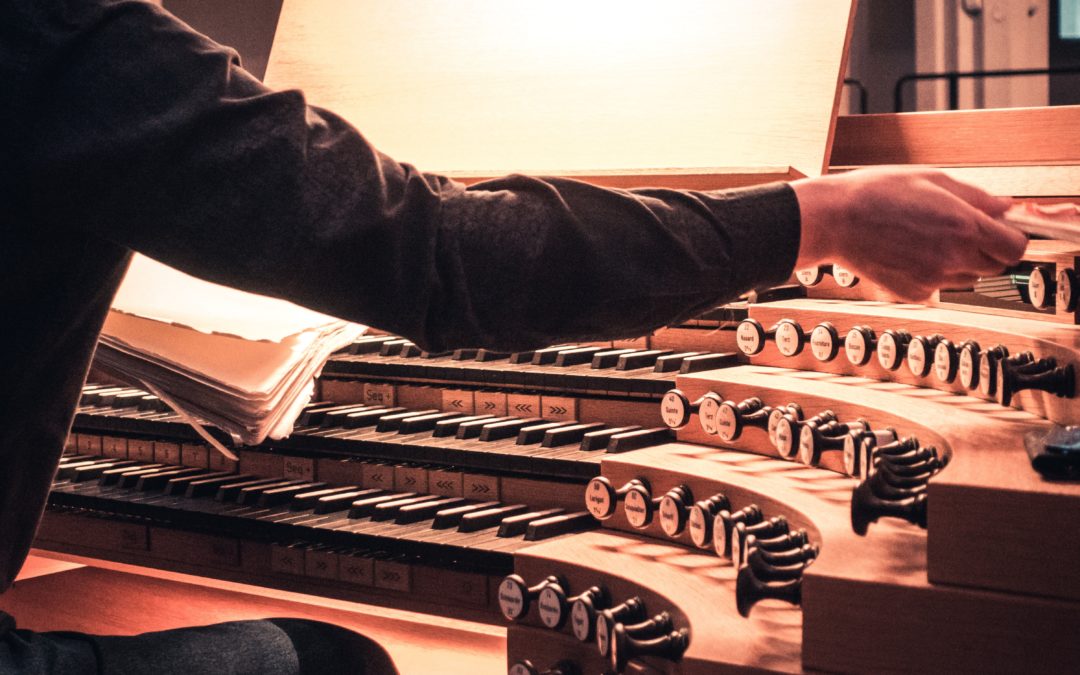
Since we’re dealing in publication here, the copyright of the image does begin to matter. You may have a pile of jpg images from your work, pictures you’ve taken of organs or keyboards or whatever (or you could in the next few weeks take your phone/camera to different instruments and catch different shots of them–something I’d recommend actually!)–these are ideal, since they’d be yours (or Jim’s) and no issues with their use. If you have friends and colleagues with photos to share that’s great too; we usually just give them a little photo credit at the bottom of the post.
There are also a lot of sites where you can get free stock photography, something I pretty much depend on these days. The best ones IMO are pexels.com, unsplash.com, and pixabay.com, but a google search for “best free stock photos” will give you a lot of options. You can download photos for free from these.
Here’s a super-quick video of how it works (It would be quicker if my computer weren’t so slow):
Broken down, here’s what happens (I had already uploaded the photo I wanted to use for this header, so I just did an additional random upload to show you how that works, which you probably didn’t even need):
Go to the “document” menu in the right hand sidebar. (Again, if you don’t see it, click the little “gear” icon above, next to “publish.”) Scroll down till you see “Set featured image.”
If you click on this, it will take you to the “media library,” where you can upload a new photo or choose one you already have up there. (You should edit your photos to the size you want before you do this, though.)
By the way, regarding the Media Library–you can also get to that on the left-hand menu bar any time. You can add a bunch of photos at once if you want, independently of writing a post, just to have ’em up there. Click the “upload” tab and you can go crazy. :-)) Note though that if you are mid-post when you want to do this, make sure you click “save draft” before you leave what you’ve typed, or you’ll lose it. The site should warn you that you’re trying to leave without saving, so you’ll want to watch out for that.
Re sizing the photos: Header photos honestly don’t have to be too specifically sized, but Jim will want me to give you this information about their proper dimensional proportions–Dimensions should be something like the following (in multiples going up to bigger photos)–essentially, a little less than twice as wide as they are high:
795 X 448
1590 x 896
3180 x 1792
3975 x 2240
4770 x 2688
The reality is that if you have something more or less the right rectangular shape, and it’s not too specific, you’ll be fine; you only need to mess with these dimensions if you run into stuff that looks funny once it’s up there.
Once you’ve got a post and a featured image, you’ll want to click “preview” to the top right, and it will take you to a new page so you can see what it will look like.
Then you can schedule your post, or just publish it, or whatever.
I think that’s it for now! Let me know if you have any questions; otherwise, have fun playing!
